Seems like I see pretty napkins everywhere I go lately. My friends are all on notice that I'm likely to steal one or two!
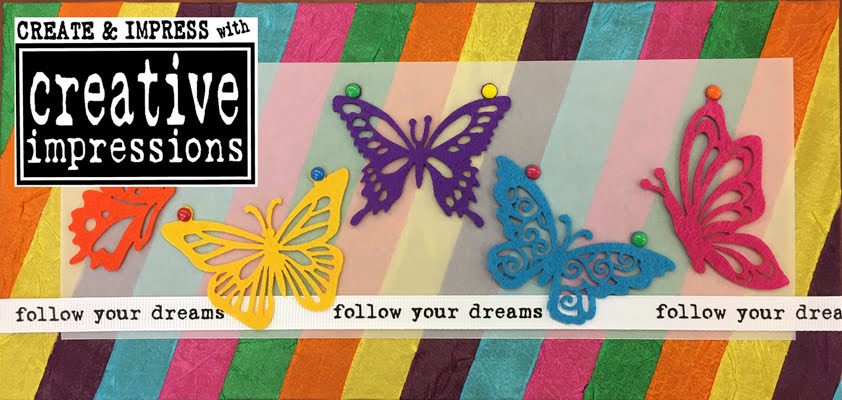
This spring card was made with a coneflower napkin and made even prettier with just a touch of Creative Impressions embellishments. I just love these sweet little butterfly brads!
This spring card was made with a coneflower napkin and made even prettier with just a touch of Creative Impressions embellishments. I just love these sweet little butterfly brads!
I started with this napkin. I made 4 cards from one napkin. Peel away the two white layers and use only the layer with ink. Brush matte medium on your card stock panel and either cut away the excess or fold and glue it to the back. I carefully brush another thin layer of matte medium on the front of the card.
Are they sweet? These are white with a touch of glitter. You can ink them too!
I used one of the white peel away layers and glued over the chipboard words. It unifies the texture over the whole piece. Its such a thin layer that when you glue it on, the black letters power through.
Collect some napkins and Creative Impressions embellishments and use your wings!
Important Note:
If you warn your friends that you'll be stealing napkins and they respond with a smile,
it's not really stealing. Jus' sayin'..........


